Anup K. Tamang /
• 5 min read
Modern WordPress development has evolved far beyond page templates and shortcodes. Today, professional developers treat WordPress as a component-driven system, where every section — hero banners, pricing tables, FAQs, testimonials — is a self-contained, reusable module.
In this guide, we’ll walk through how to build modular, scalable, and maintainable WordPress websites using ACF Blocks with JSON registration — the same approach I use in production for real-world client websites.
Traditional WordPress themes often rely on messy PHP templates and scattered get_field() calls. This approach leads to:
With Modular ACF Blocks, you can:
Think of it like React components — but inside WordPress.
Organize your theme like this:
1/template-parts/
2  └── blocks/
3       └── hero/
4            ├── hero.php
5            ├── hero.scss
6            └── block.json
7            └── preview.png
Each block should include:
You can register your block using acf_register_block_type() inside your theme’s functions.php (or in a custom plugin):
1<?php
2add_action('acf/init', 'register_hero_block');
3function register_hero_block() {
4 if (function_exists('acf_register_block_type')) {
5 acf_register_block_type([
6 'name' => 'hero',
7 'title' => __('Hero Section'),
8 'description' => __('A full-width hero banner with image and overlay.'),
9 'render_template' => 'template-parts/blocks/hero/hero.php',
10 'category' => 'layout',
11 'icon' => 'cover-image',
12 'keywords' => ['hero', 'banner'],
13 'supports' => [
14 'align' => ['full', 'wide'],
15 'jsx' => true,
16 ],
17 ]);
18 }
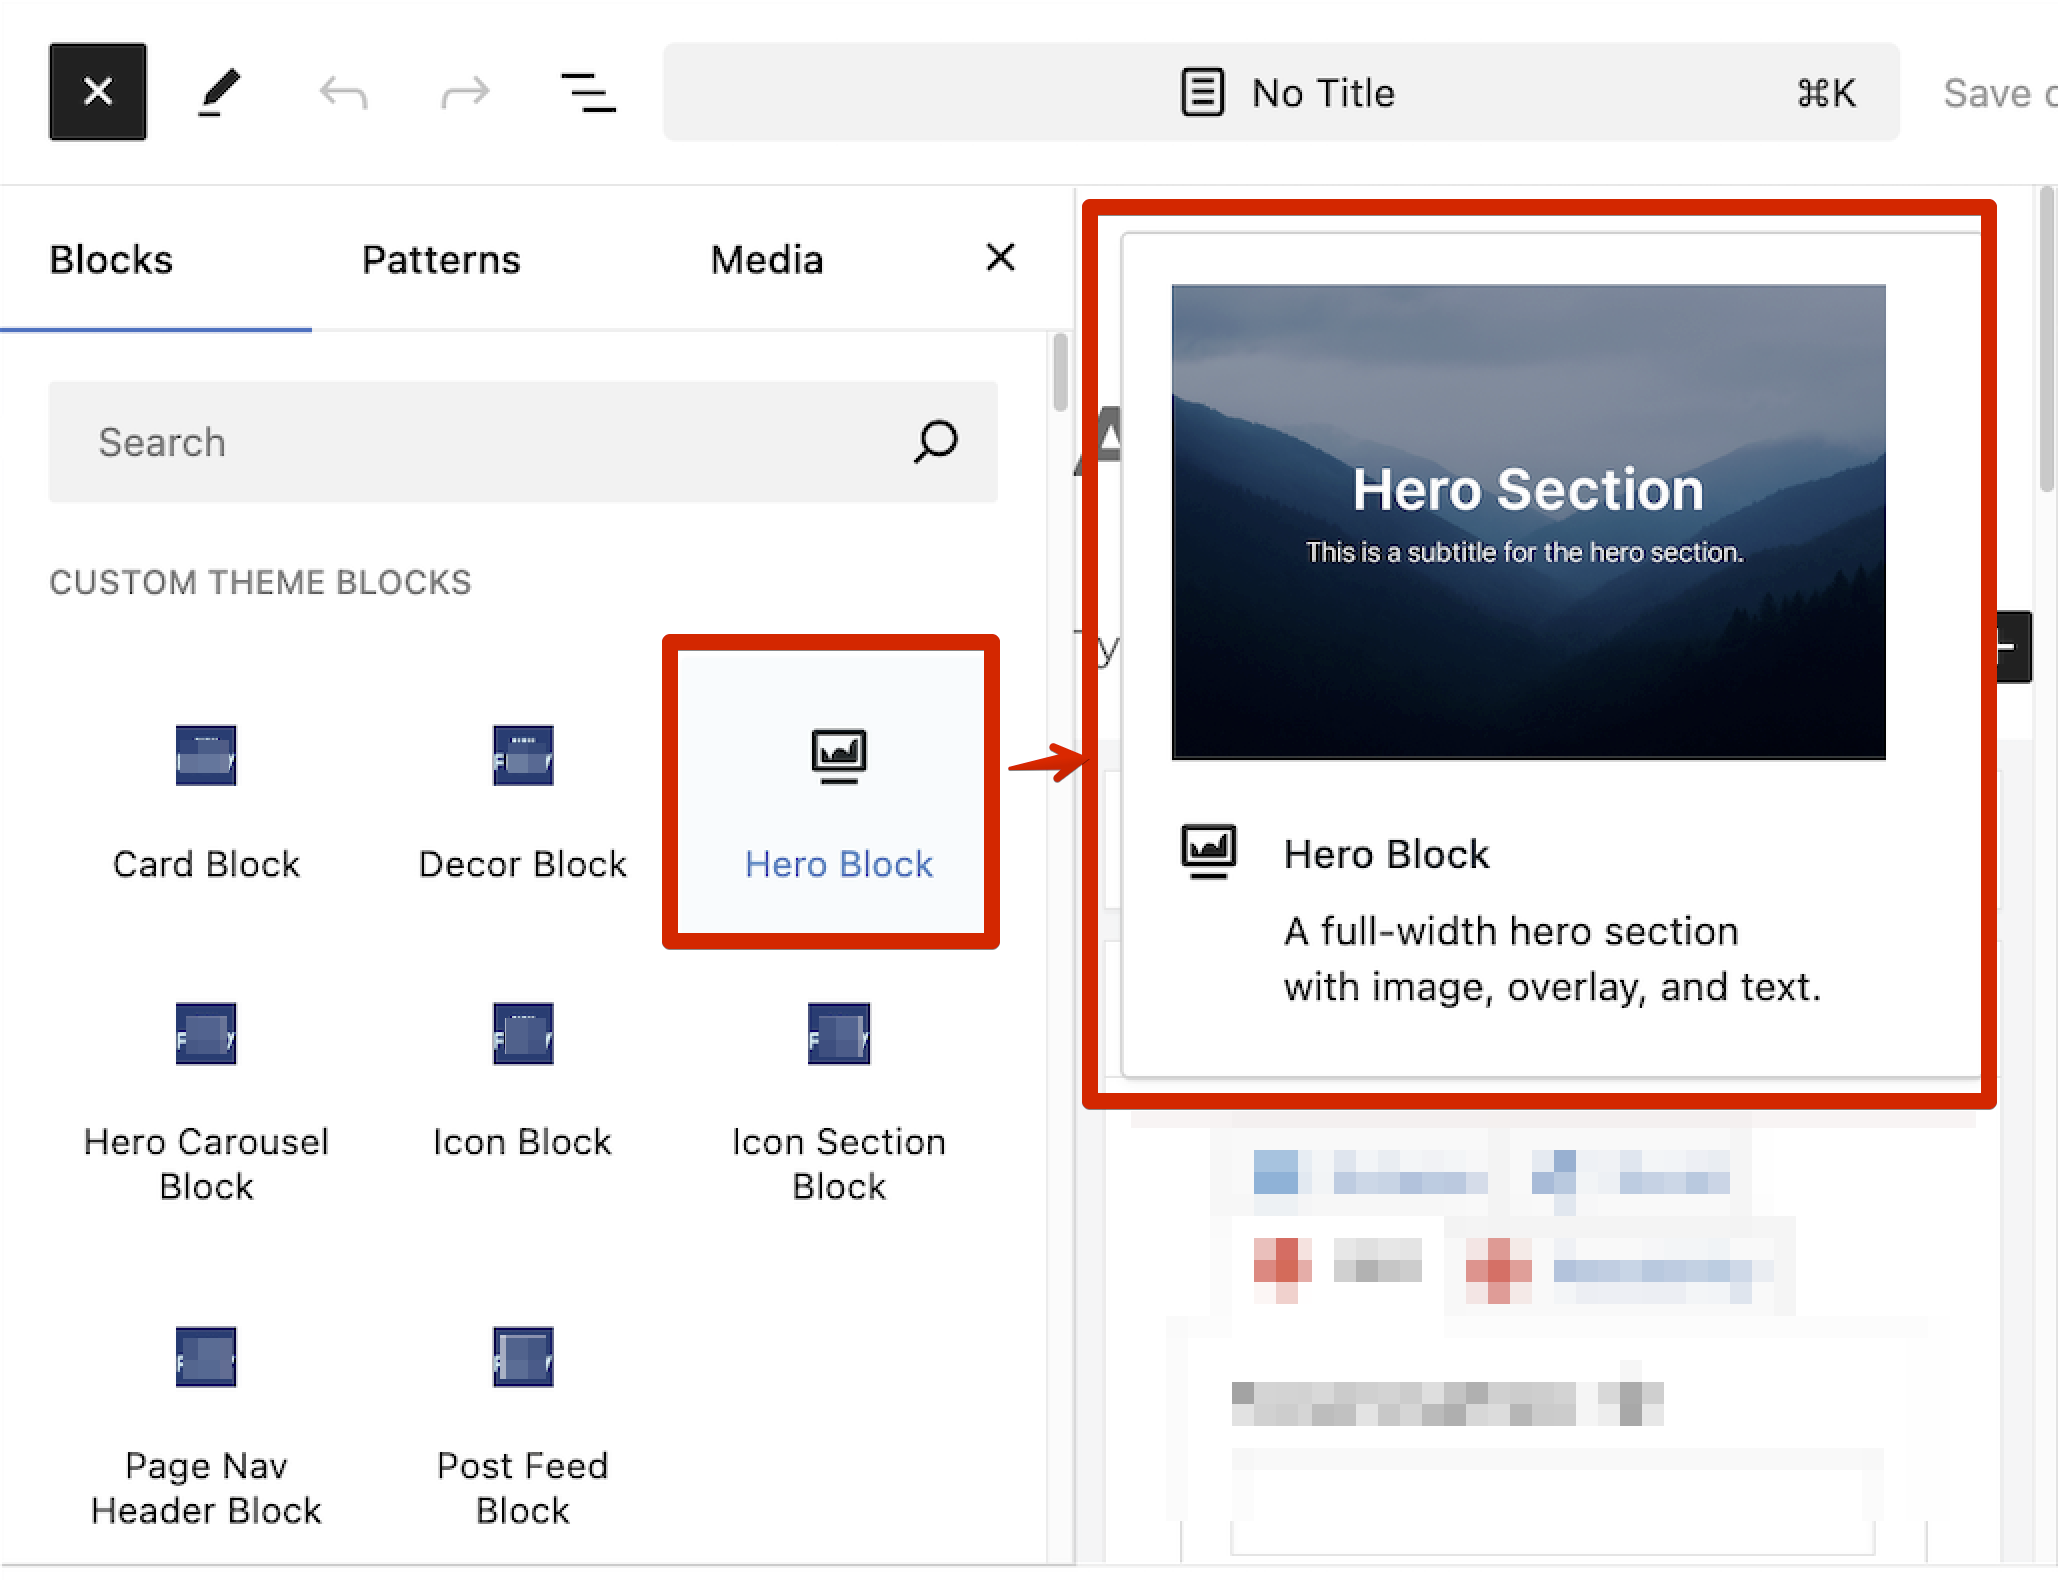
19}This makes the block appear in Gutenberg’s “Add Block” panel.
From WordPress 5.8 onward, you can register blocks automatically using a block.json file.
This makes your blocks portable and compatible with Full Site Editing.
block.json
1{
2  "name": "acf/hero",
3  "title": "Hero Block",
4  "description": "A full-width hero section with image, overlay, and text.",
5  "category": "theme-blocks",
6  "icon": "cover-image",
7  "keywords": ["hero", "banner"],
8  "acf": {
9    "mode": "preview",
10    "renderTemplate": "hero.php"
11  },
12  "supports": {
13    "align": ["full", "wide"],
14    "anchor": true
15  },
16  "example": {
17    "attributes": {
18      "mode": "preview",
19      "data": {
20        "preview_image": "preview.png"
21      }
22    }
23  }
24
25}
26
Then register it in your functions.php:
1<?php
2// ACF Blocks registration
3add_action('init', function() {
4  register_block_type(get_template_directory() . '/template-parts/blocks/hero');
5});
6
7// To enable the block preview thumbnail
8function theme_get_block_preview_image($block)
9{
10  $html = '';
11
12  if (is_admin() and isset($_POST['action']) and isset($_POST['block'])) {
13    $block_data_str = stripslashes($_POST['block']);
14    $block_data_obj = json_decode($block_data_str);
15
16    if (is_object($block_data_obj) and is_object($block_data_obj->data) and isset($block_data_obj->data->preview_image)) {
17      if (file_exists($block['path'] . '/' . $block_data_obj->data->preview_image)) {
18        $home_url = home_url();
19        $path = str_replace(ABSPATH, '', $block['path']);
20        $path = "/{$path}/";
21        $preview_url = $home_url . $path . $block_data_obj->data->preview_image;
22
23        $html = '<img width="470" src="' . esc_url($preview_url) . '">';
24      }
25    }
26  }
27
28  return $html;
29}
30
No more acf_register_block_type() clutter — WordPress reads it directly from the JSON file.
In your WordPress dashboard:
Now ACF automatically binds these fields to your block inside the editor.
Create your hero.php file:
1<?php
2/**
3 * Hero Block Template
4 */
5
6// Preview the block design while browsing blocks
7$img = theme_get_block_preview_image($block);
8if ($img) {
9 echo $img;
10 return;
11}
12
13// Support custom "anchor" values.
14$anchor = '';
15if (!empty($block['anchor'])) {
16 $anchor = 'id="' . esc_attr($block['anchor']) . '" ';
17}
18// Create class attribute allowing for custom "className" and "align" values.
19$class_name = 'block-' . str_replace(['/', '_'], '-', $block['name']);
20if (!empty($block['className'])) {
21 $class_name .= ' ' . $block['className'];
22}
23// Full Site Editing for layouts
24if (!empty($block['align'])) {
25 $class_name .= ' align' . $block['align'];
26}
27
28// Generate unique ID for the block
29$block_id = 'id="' . 'block-acf-' . uniqid() . '" ';
30$anchor = $anchor ? $anchor : $block_id;
31
32// Get the ACF fields
33$hero_title = get_field('hero_title');
34$hero_subtitle = get_field('hero_subtitle');
35$hero_image = get_field('hero_image');
36$overlay_color = get_field('hero_overlay_color') ?: '#000000';
37?>
38
39<!-- Render the block HTML -->
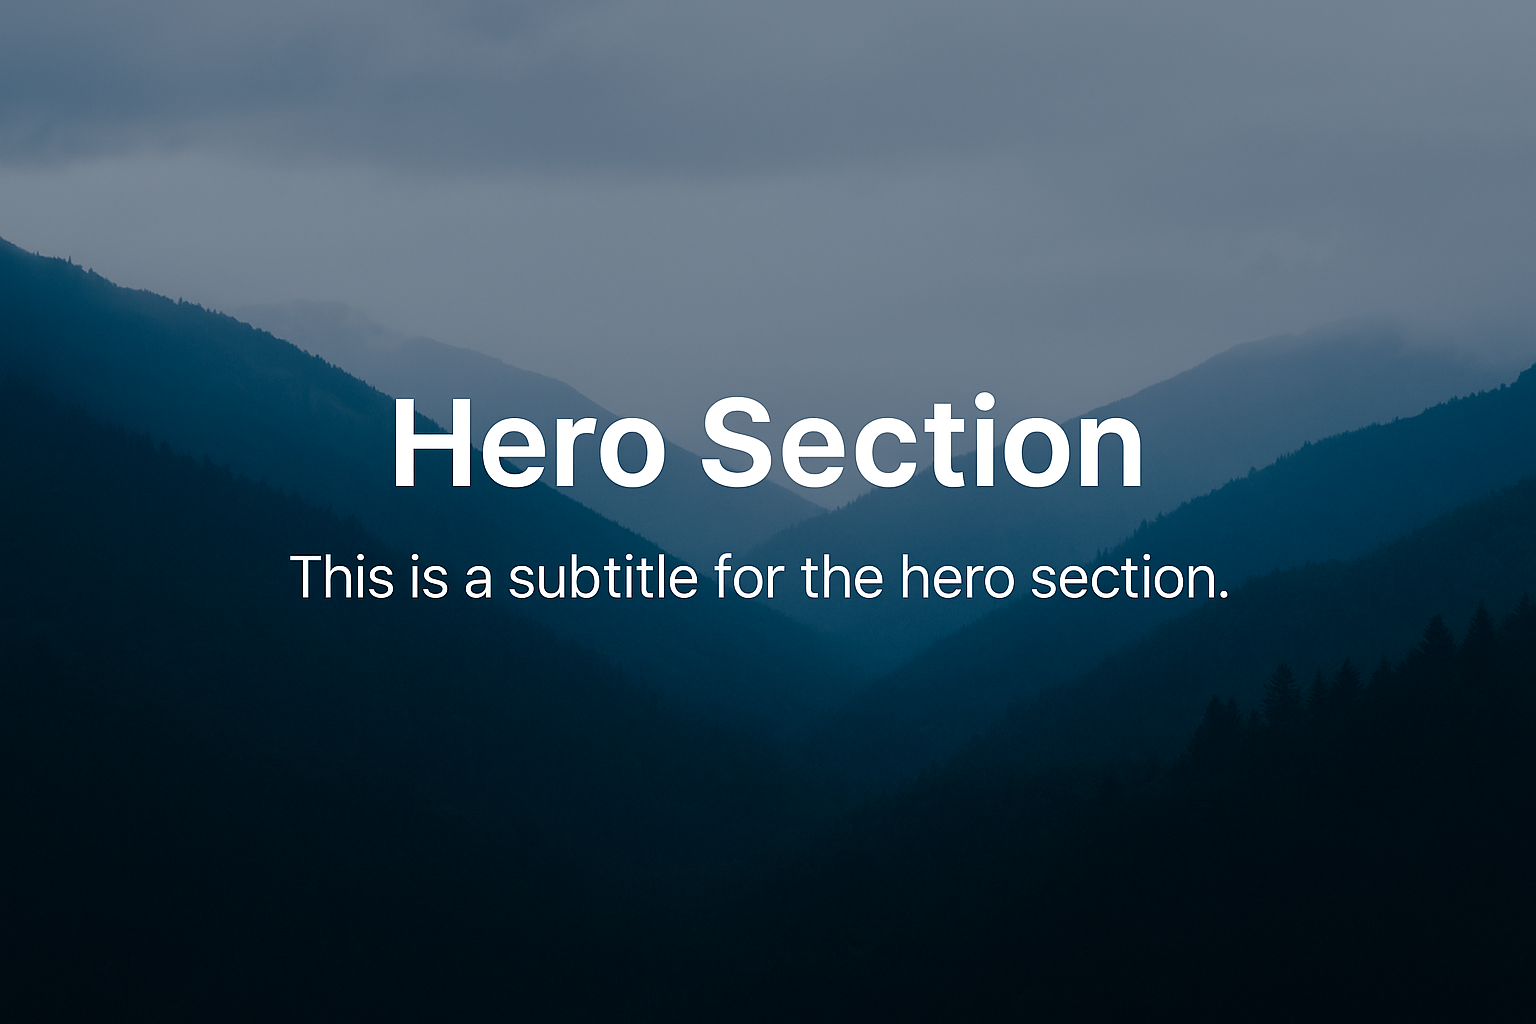
40<section <?php echo $anchor ?> class="<?php echo $class_name ?> hero-block" style="background-image:url('<?php echo esc_url($hero_image['url']); ?>')">
41 <div class="hero-overlay" style="background-color:<?php echo esc_attr($overlay_color); ?>"></div>
42 <div class="hero-content">
43 <h1><?php echo esc_html($hero_title); ?></h1>
44 <p><?php echo esc_html($hero_subtitle); ?></p>
45 </div>
46</section>
47hero.scss
1// Hero block styles
2.hero-block {
3  position: relative;
4  background-size: cover;
5  background-position: center;
6  color: #fff;
7  padding: 6rem 2rem;
8  text-align: center;
9
10  .hero-overlay {
11    position: absolute;
12    inset: 0;
13    opacity: 0.5;
14  }
15
16  .hero-content {
17    position: relative;
18    z-index: 2;
19    max-width: 800px;
20    margin: 0 auto;
21  }
22}
23
Compile your SCSS or enqueue the compiled CSS via wp_enqueue_style().
Once your block works, you can copy the entire /hero folder to another project, register it via JSON, and it’s ready to go — instantly.
For agency-style reuse:
Make your blocks smarter with PHP conditions — for example, auto-detecting the homepage:
1<?php
2if (is_front_page()) {
3  echo '<p class="badge">Homepage Hero</p>';
4}
Or dynamically adjust overlay brightness, fetch related posts, or pull dynamic colors.
Benefit
What It Means
Reusable
Copy blocks across projects instantly
Maintainable
Self-contained PHP, JSON, and styles
Future-proof
Fully compatible with Gutenberg & Full Site Editing (FSE)
Client-friendly
Drag-and-drop visual editing
ACF Blocks let you build enterprise-grade WordPress websites with the flexibility of a page builder and the precision of custom code.
Instead of writing repetitive templates, you now design reusable building blocks — each with its own logic, style, and presentation.
Whether it’s a startup website or a corporate platform, this approach gives you:
Start small — build one ACF Block today. Soon, you’ll have a personal library of powerful, production-ready WordPress components.
ACF Blocks, WordPress Development, Gutenberg, JSON Registration, Modular Websites, PHP, Custom Fields, Full-Site Editing, Component-Driven Development